

The integrated KDE Network Manager communicate with the Network Manager components commonly used in Linux Desktop distribution via D-Bus. Let’s use it.
Linux network manager is the most advanced we can have today, with native support for most network configurations and VPNs, out of the box.
To check available plugins on Debian family distributions:
sudo apt search -n network-managerIn the below post, we will focus on OpenVPN.
Import an .ovpn config file from GUI
- Ensure the Network Manager has the OpenVPN support installed (usually not installed by default):
sudo apt install network-manager-openvpn - Go to your «Connections» system settings. Three ways :
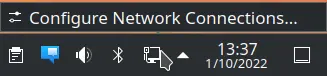
- Right-click on the network icon in the lower right corner of your task bar (next to the clock) → Configure Network Connections…
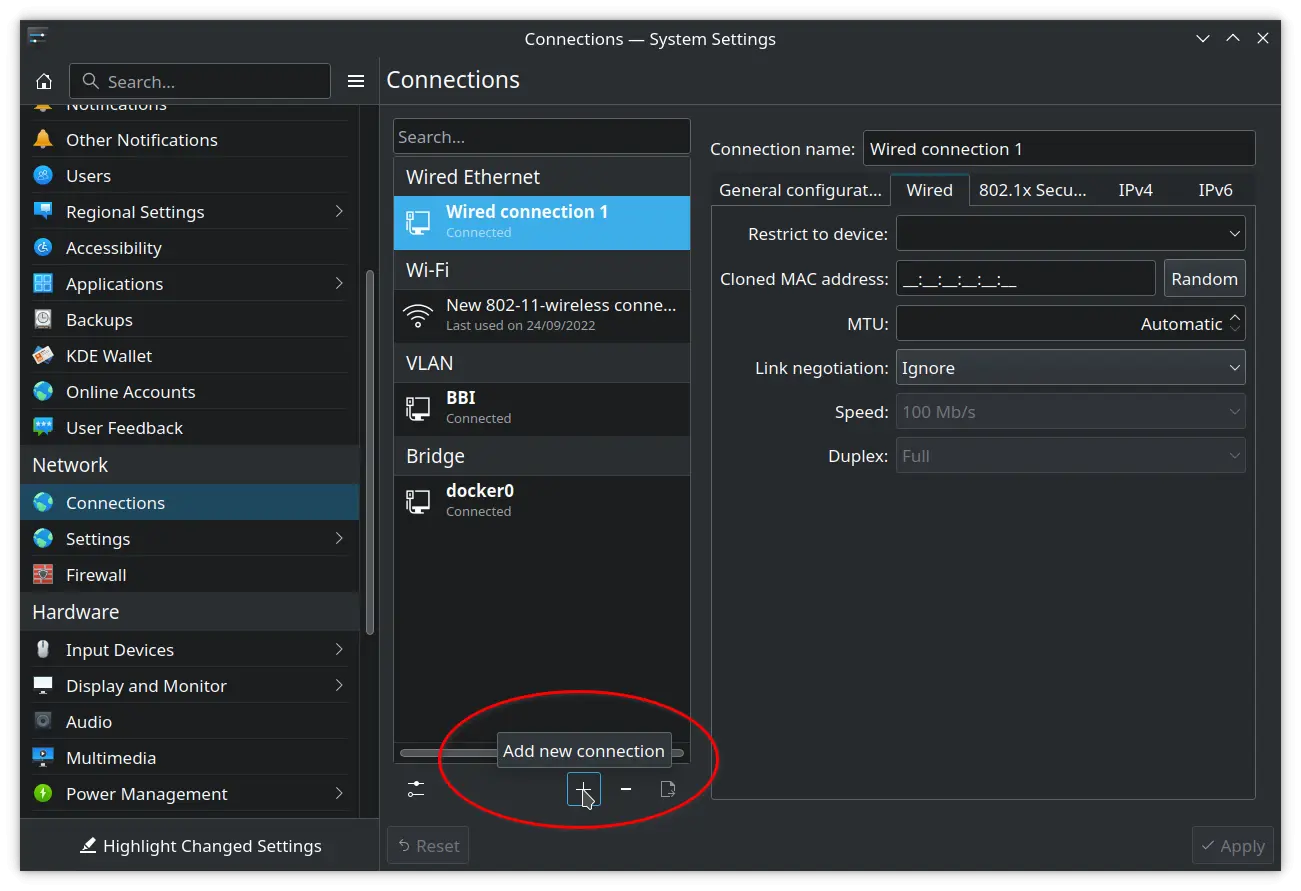
- Go to System Settings → Network section → Connections
- Search for «Connections» in the K menu
- Right-click on the network icon in the lower right corner of your task bar (next to the clock) → Configure Network Connections…
- Click on the +
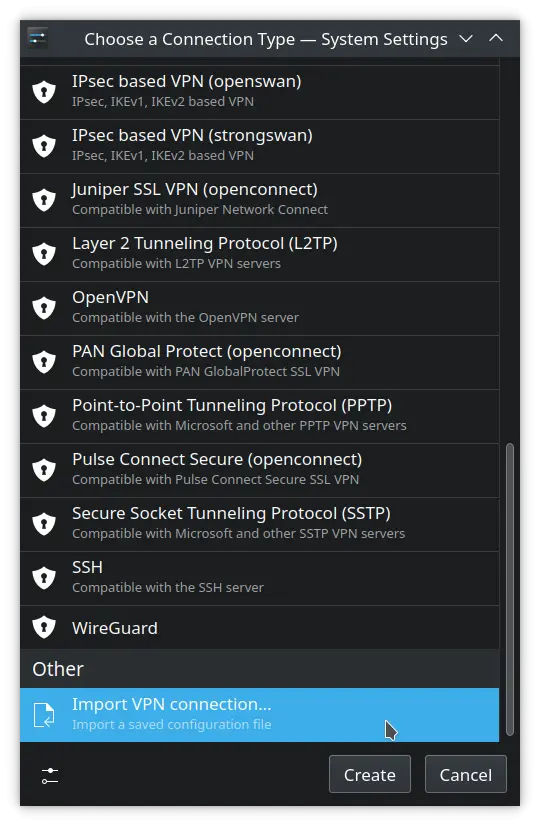
- You will be presented with a long list of possible VPNs and Network connections.
But in this case, since we already have the .ovpn configuration file, we must scroll down to the last option, and provide the .ovpn file. The Network Manager will detect that it’s an OpenVPN configuration file. - Click «Create» and select your .ovpn file.
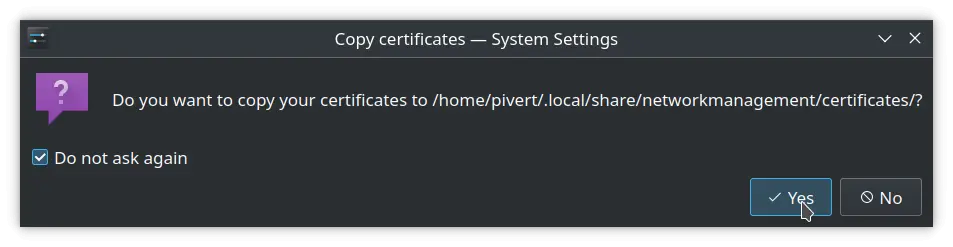
- Accept to copy the certificates, so you’re not dependant of your source folder.
- You can modify/add parameters such as username/password
- Activate the connection either from the Connection settings (right-click → connect) or by using the network icon in the task bar.
In case the config file points to a username/password file with a filename like ‘up’ containing the username & password on 2 separate lines, the credentials won’t be imported. So, can either save them by editing the connection, either enter them when initiating connection.
You can check if your .ovpn file provides a password by checking if you have an argument to the auth-user-pass optional directive, and checking if the file in argument contains just 2 lines like:
vpnusername
vpnpassword
Import .ovpn files from the command line
nmcli connection import type openvpn file myvpnfilename.ovpnAgain, this won’t import credentials. The connection name will be the filename without the extension.
Optional: Import credentials
This can be achieved with 2 commands, one for username, one for password
nmcli connection modify myvpnfilename +vpn.data 'username=myvpnusername'
nmcli connection modify myvpnfilename vpn.secrets 'password=myvpnpassword'
The + in front of vpn.data means that it will append the value to the existing vpn.data value. This is important as most of the OpenVPN configuration is in this field. If you omit the +, this will overwrite the vpn.data field. Similarly, a dash (-) in front of a property can be used to remove a parameter.
Check the configuration from command-line
nmcli connection show myvpnfilename | grep vpn.dataWhile typing the command you will have very helpful tab-completion in bash. (Tested in Kubuntu)
Use nmcli conn <TAB><TAB><TAB> to see available options.
Activate the connection
nmcli connection up myvpnfilenameImport multiple .ovpn files with username/password or other parameters
This can only be done from the command-line. Considering you want to import all .ovpn files in your current folder with username/password authentication :
#!/usr/bin/env bash

read -p "Enter the username to be used for all .ovpn files: " USERNAME
read -p "Enter the password to be used for all .ovpn files: " -s PASSWORD
echo "Password length : ${#PASSWORD} characters"
for file in *.ovpn
do
  nmcli connection import type openvpn file "${file}"
  nmcli connection modify "${file%.*}" +vpn.data "username=${USERNAME}"
  nmcli connection modify "${file%.*}" vpn.secrets "password=${PASSWORD}"
  # Optional - you can add static routes when the connection is activated,
  # You can also add specific routes for that connection. The metric (50 in the below example) is optional.
  # nmcli connection modify "${file%.*}" +ipv4.routes "192.168.0.0/16 192.168.0.1 50"
done
The above script shows example for adding a route, but you can change any parameter from the GUI using the nmcli command line.
Similarly, you can delete them
#!/usr/bin/env bash
for file in *.ovpn
do
  nmcli connection delete "${file%.*}"
done
Firewall
If you use some public VPNs to protect your privacy, there are good chances that you might get a public IP address, or at least be exposed to external connections. Once you have a public VPN enabled, you’re not protected any more with the firewalls in front of your computer. So just enable a firewall to prevent incoming connections to your host. If you do not have a local firewall, you can prevent external connections by just applying some basic iptables rules.
The point here is to protect your computer, but still allow the traffic:
- To reach your local internet gateway. For this you have to know at least your subnet. I will consider in the below example any subnet in the private range 192.168.x.x/24 (in a class C or 16 bits block)
- To still get access to your local resources, including your DNS if you’re using a local DNS cache
- Grant traffic to localhost that is very important for Linux (lo interface)
sudo iptables -I INPUT -i lo -j ACCEPT
sudo iptables -I INPUT -m conntrack --ctstate RELATED,ESTABLISHED -j ACCEPT
sudo iptables -A INPUT -s 192.168.0.0/16 -j ACCEPT
sudo iptables -P INPUT DROP
This is the last line (Policy DROP) that will drop all other traffic, and can be easily reverted with
sudo iptables -P INPUT ACCEPTLimitations:
This is very basic firewall setup. It might not work in all network configurations. For advanced and manageability : Shorewall is the king. If interested, I can write a post on it.
2 responses to “Import OpenVPN configuration files from KDE Network Manager or in batch with nmcli scripting”
Excellent tutorial, thank you
Thank you for this excellent article It was very helpful and informative.